Creating great video can be hard when you don’t have the right tools to get the perfect shot every time. One of the most important aspects of video creation is getting the angle just right – but this isn’t always as easy as it seems because many cameras don’t have the flexibility to get everything into view. This can make getting those shots from above, below or from the side that much more difficult – until you start using a 3 point slinger, that is! Here are three ways you can use this tool to create even better videos than you have in the past.
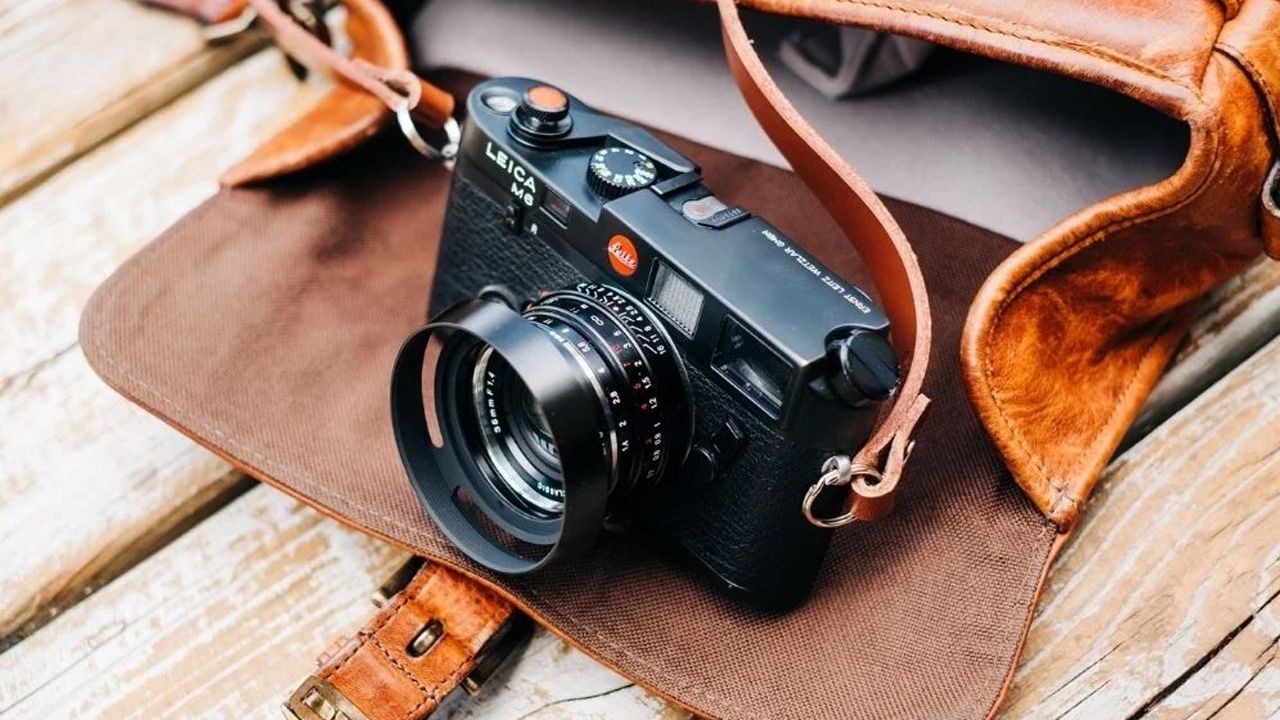
3 point slinger for camera
A 3 point slinger is a camera support system that consists of three points of connection to secure your camera. It’s perfect for shooting from unique angles or for when you need to get low to the ground without getting in your shot. The main components of this type of slinger are as follows:
-A sling strap, which is connected to the base by two long straps. One strap goes under your arm and then up over your shoulder and around the other side. The other strap goes over your head, across one shoulder, and then under your arm on the opposite side.
Step 1: Set Your Subject Up
This is going to depend on what you are filming. If you are filming something in front of you, start by setting your subject up in the middle of the three points. Now, if you have a long-range shot or want to capture the action from afar, have your subject stand at one point and set yourself up at another. Remember that it’s better to be closer to your subject than farther away, as this will give you more room for error when it comes time to edit. You can also use this technique for shooting straight overhead shots or overhead shots from below–just place your subject at one point and yourself at another.
Step 2: Attach the Slingshot
The first step is to attach the slingshot. The best way to do this is by attaching one end of a string around the camera, and then tying it off on one end of your slingshot. The other end of your slingshot should be securely fastened to something sturdy, like tree branch or railing. Make sure not to tie it too tightly so that you can still move it around. If the object being slung gets stuck in a place you don’t want it to be, loosen the tension and try again. Step 3: Load Slingshot: Once your slingshot is set up, load it with whatever needs to be transported
Step 3: Shoot
When you are ready to shoot, you will need to set up your camera and tripod. Be sure that you have an appropriate focal length (or zoom) for your shot so that you can get as close as possible to your subject. It is also important to make sure that the camera is level and sturdy on its tripod. Once it is secure, use a remote or timer to start shooting images of your product. It’s okay if you have to do this in multiple shots because there are no strings tying down your camera. Make adjustments until you find the perfect angle before moving onto.
Understanding Three Point Lighting in Photography – Shotkit
The three-point lighting system is one of the most basic yet versatile setups in photography. It consists of two lights on either side of your subject, and one light above. The key light is called key because it’s the only one that illuminates your subject’s face. The fill light brightens up shadows caused by your key light, as well as any other part of your subject that needs to be lit up from different angles. The backlight shines behind your subject and gives them depth.